On this post, I would like to cover up some of the Ethical Hacking Cycle steps. I mentioned these steps on my previous posts. But the explanation there was not very detailed. So, I have decided to give more explanation based on what I have learned.
a. target scoping
Target scoping would actually be the second step right after making a contract with the client. The benefits of Target Scoping is that we’ll know our objectives, we get to plan better before penetration testing and we get to save more time and energy. Here are several key concepts of Target Scoping:
1. Gathering Client Requirements
This key requires us to dig more about what the client wants us to do. It can be done by thorough communication with the client. It’s also better that we prepare questions beforehand.
2. Preparing Test Plan
Preparing the test depends on what we need. These may include shaping the actual requirements into structured testing process, legal agreements, cost analysis, and resource allocation.
3. Profiling Test Boundaries
Determining limitations on the project itself. Whether its the technology, knowledge, or restrictions given by the client’s IT environment.
4. Defining Business Objectives
Aligning business view with technical objectives of the penetration testing program.
5. Project Management and Scheduling
Management and Scheduling is also an important part so that
b. information gathering
On this step, as mentioned on my previous post, we’ll be gathering public information about our client. There are many things that can be found such as the client’s name, address, website, contact person details, email address and telephone number. There are a list of tools that we can use to look for these information.
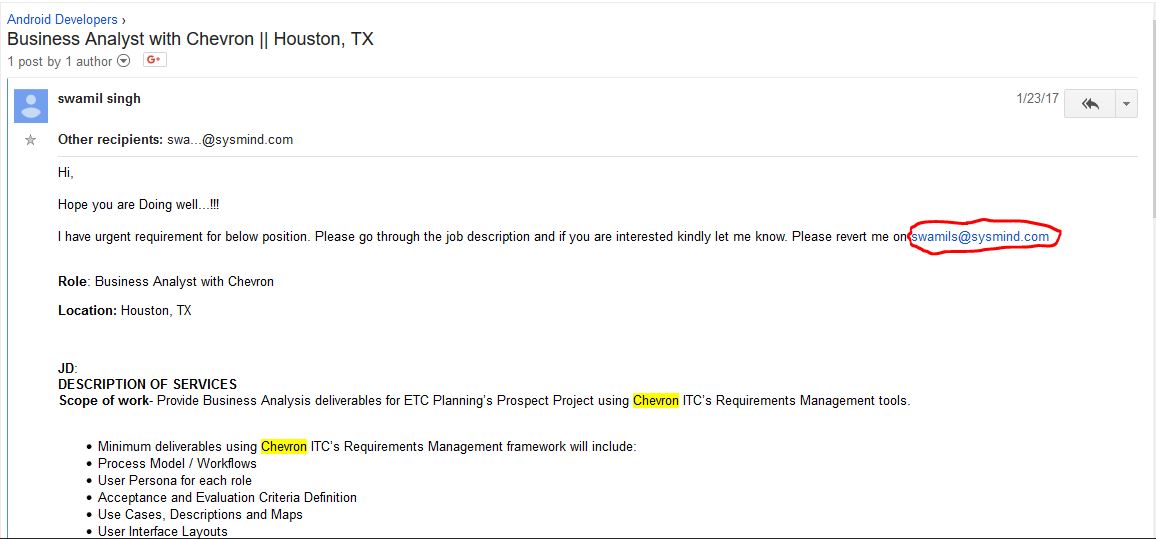
1. Google Groups
Google has many uses in terms of searching. In google groups, we can get emails of our client. It should be useful as we can send spam messages and messages that may contain malicious software. The use of it is also to test the ‘people’ layer of the company or the individual.
Here is an example of how searching in google groups looks like.
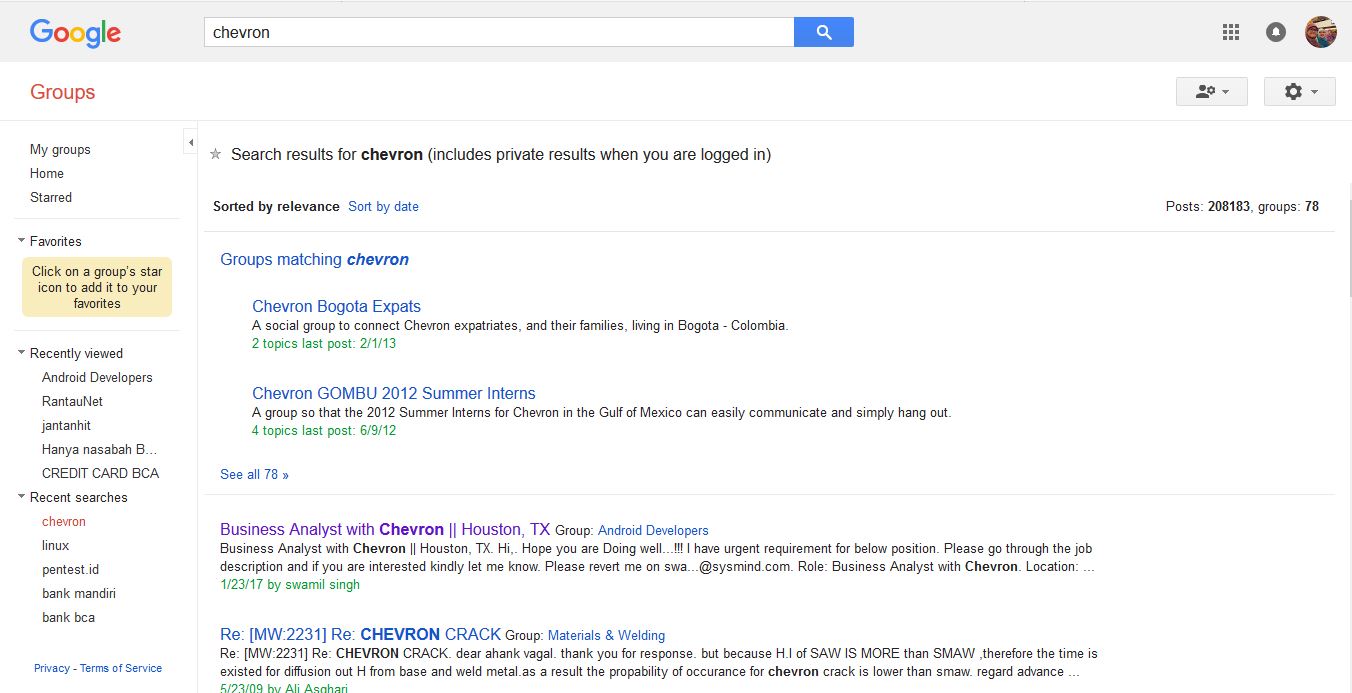
Since this is just an example, this is a random search. It would be better if you plan on what you want to get beforehand. It’s not difficult, but if we don’t know what we’re looking for, it won’t be easy either.
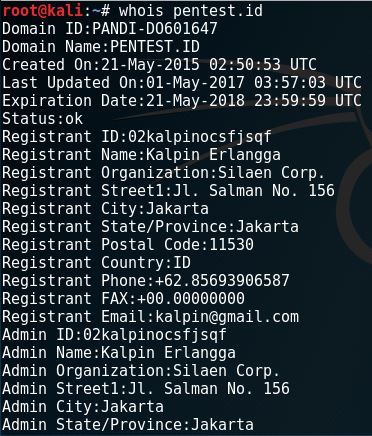
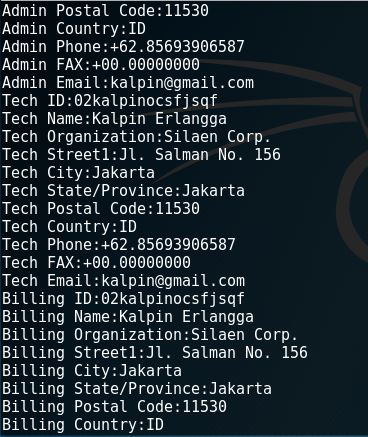
2. whois
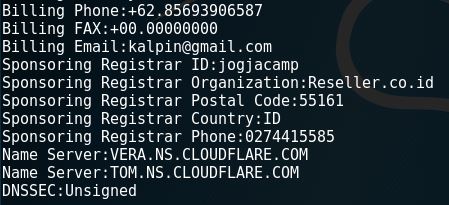
The whois command is a very common command to use for information gathering. Through this, we can get the registrant data of a domain including the name, email, address and phone number. Here is an example of whois results through the terminal.
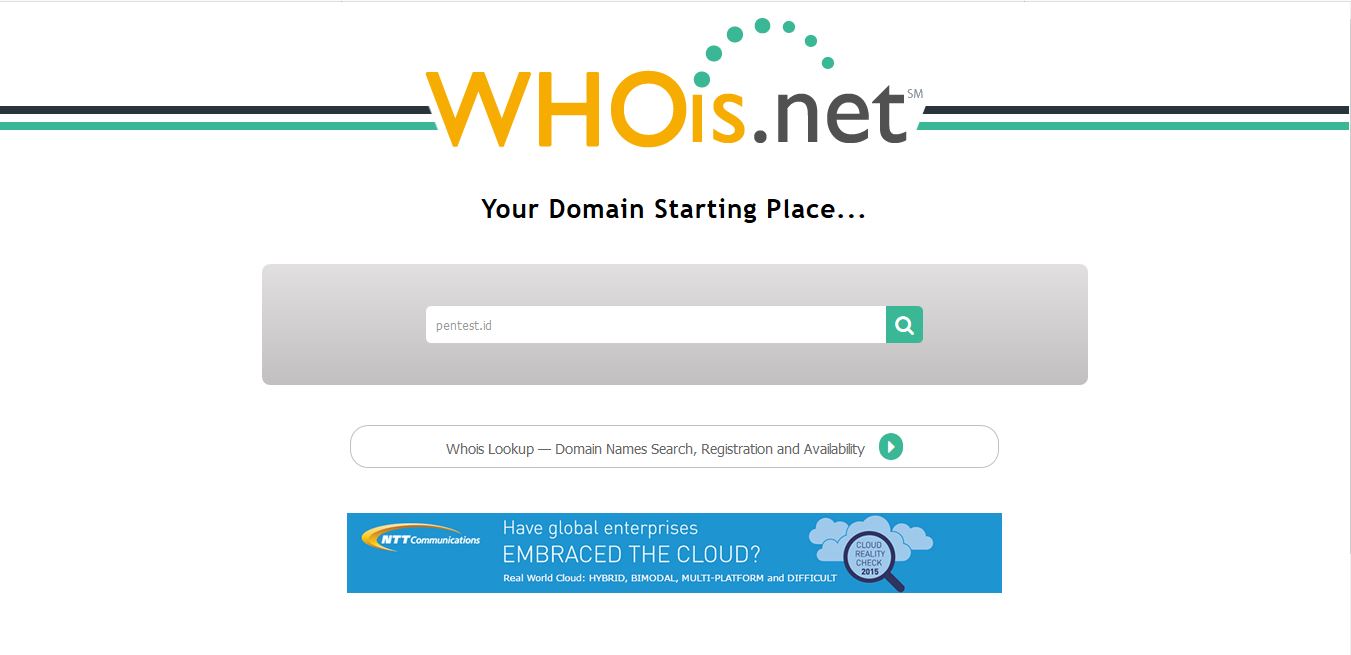
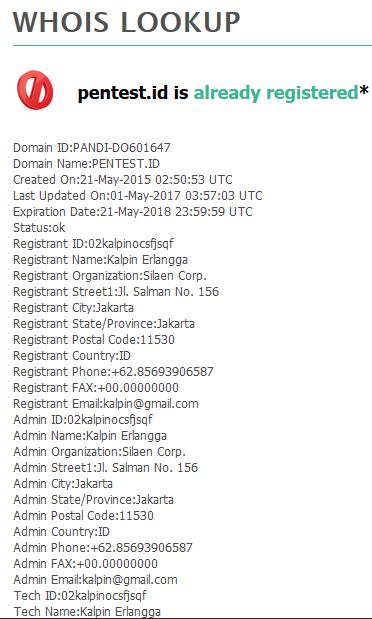
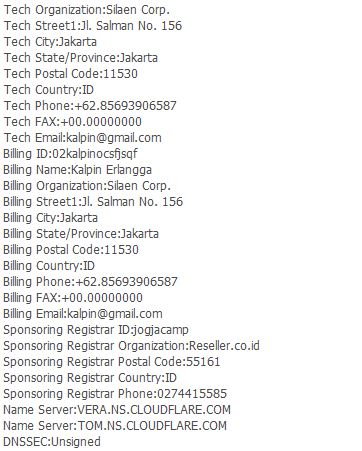
Another way to check whois results is through the www.whois.net website. Here’s a look of how we run it there.
3. dig
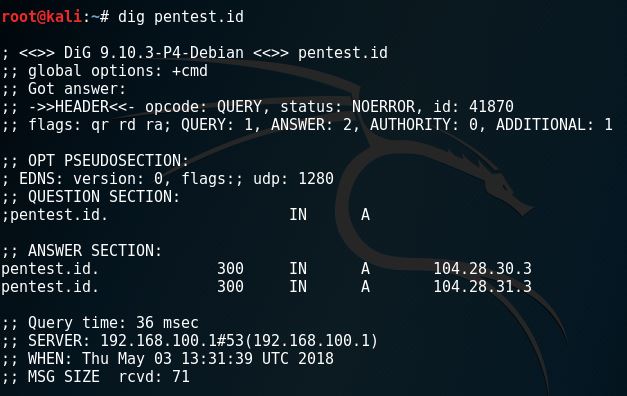
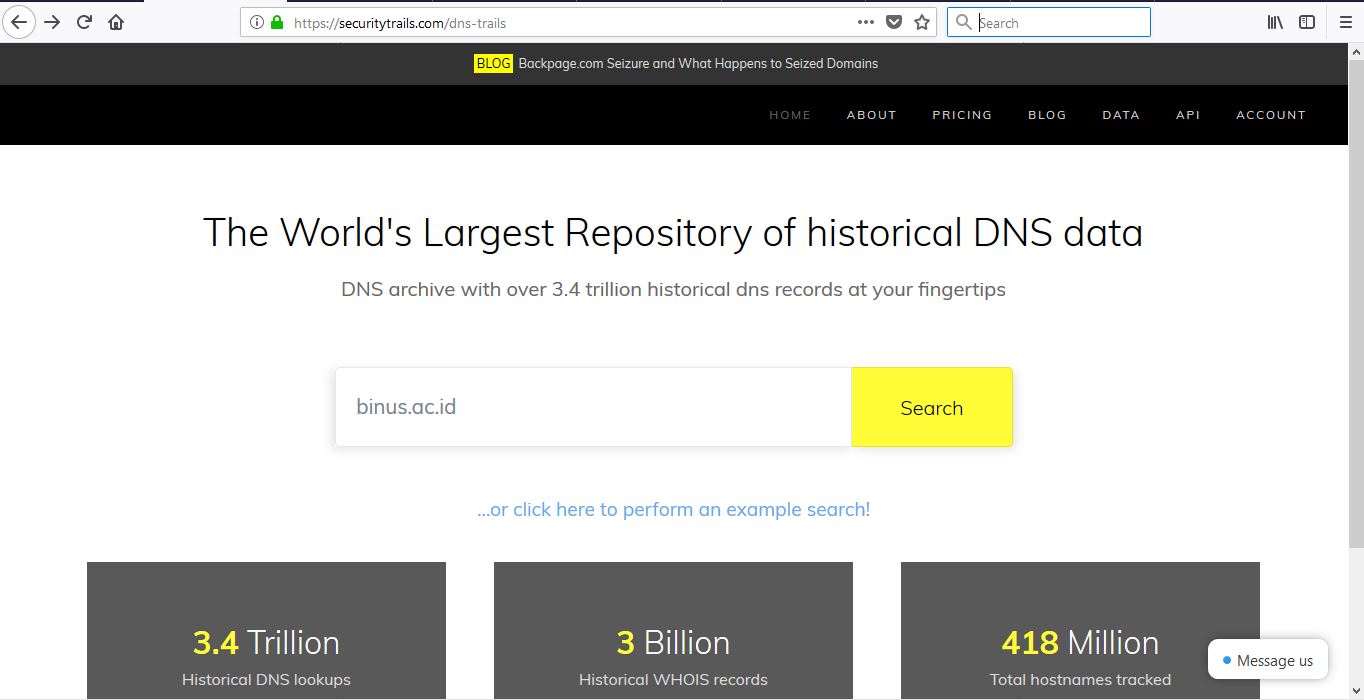
4. DNSTrails / SecurityTrails
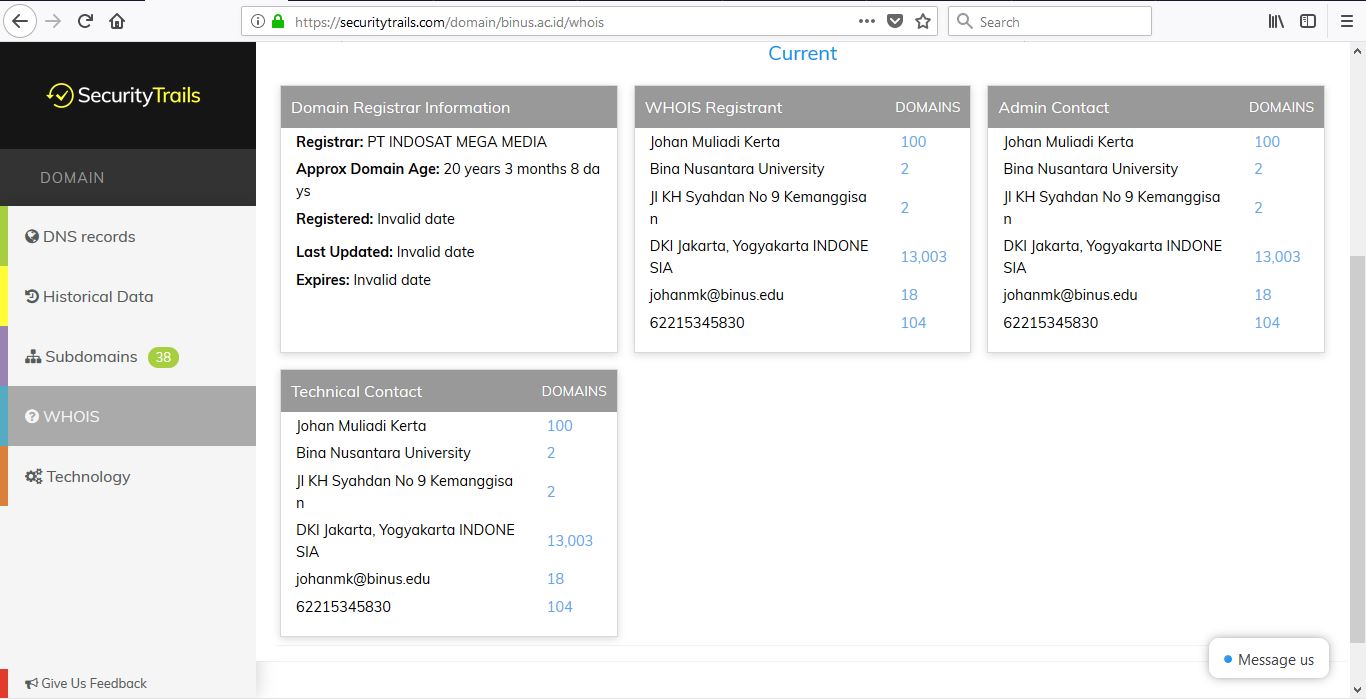
DNSTrails, now securitytrails, is a web that let’s us search for the history of any domain, the subdomains and also giving us whois results. Here is what it looks like when we use it.
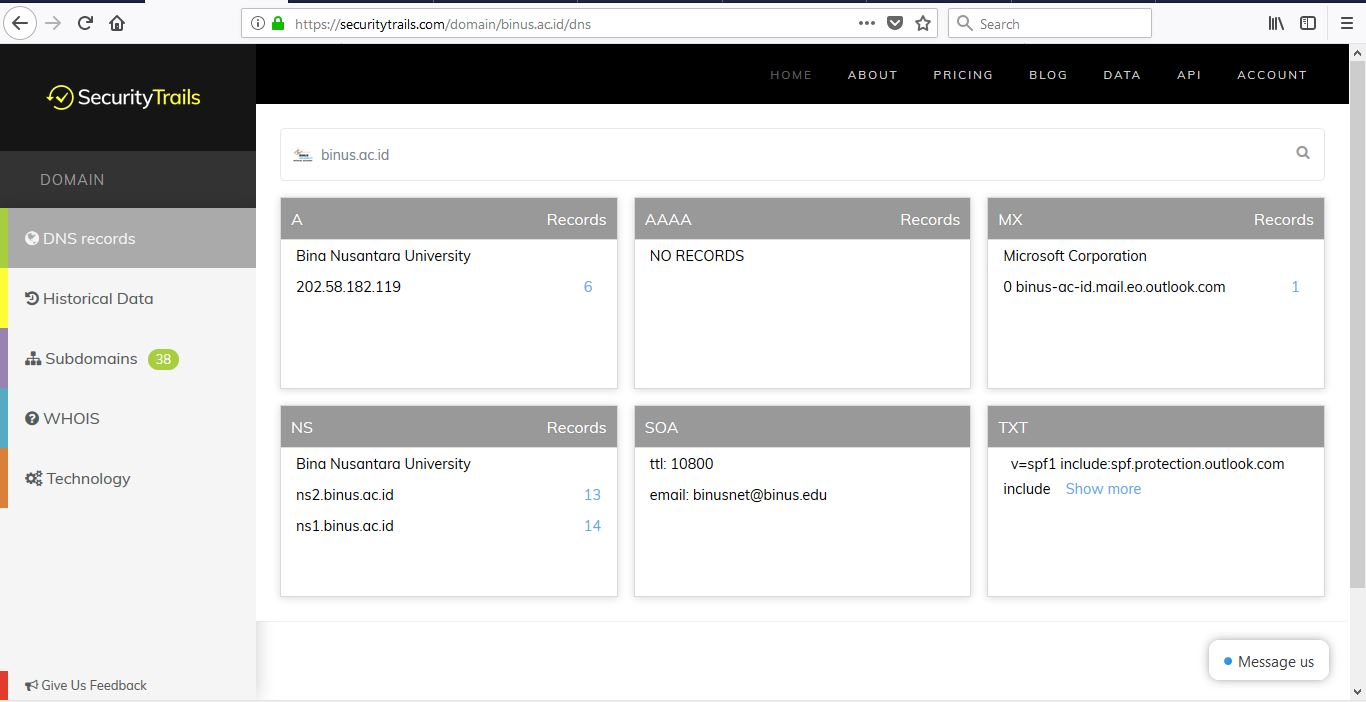
Notice that there are strange letters such as A or AAAA? Here is what it means:
1. A: The A stands for Address. It gives us the IPv4 records for the given host.
2. AAAA: This one is also an address, similar to A. But the version of the address is IPv6.
3. MX: Stands for Mail Exchange. It is used by the Simple Mail Transfer Protocol (SMTP) to route emails to proper hosts.
4. NS: Specifies the authoritative name server.
5. SOA: Stands for Start of Authority. Specifies core information about a DNS zone, including the primary name server, email of the domain administrator, the domain serial number and several timers relating to refreshing the zone.
6. TXT: The text record simply holds arbitrary non-formatted text string. It is used by Sender Policy Framework to prevent fake emails.
5. Paros
Paros is one of the powerful tools for information gathering as it captures web server information and gives us possible vulnerabilities that could allow exploits. The application is already provided in Kali Linux. But if we’re using another operating system, we must first download Paros at www.parosproxy.org, which then redirects you to this website.

Make sure that we have Java J2SE installed. Then, we install paros.
After getting everything set up, we expect to be on this screen.

What we can do now is setting up the network environment. First, check the local proxy from Paros by clicking tools, then options, then select local proxy.
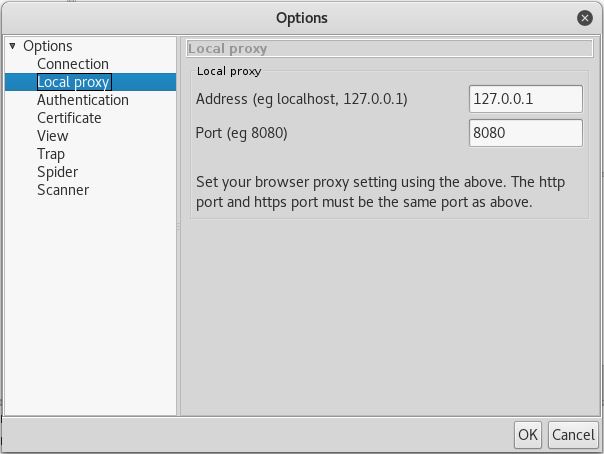
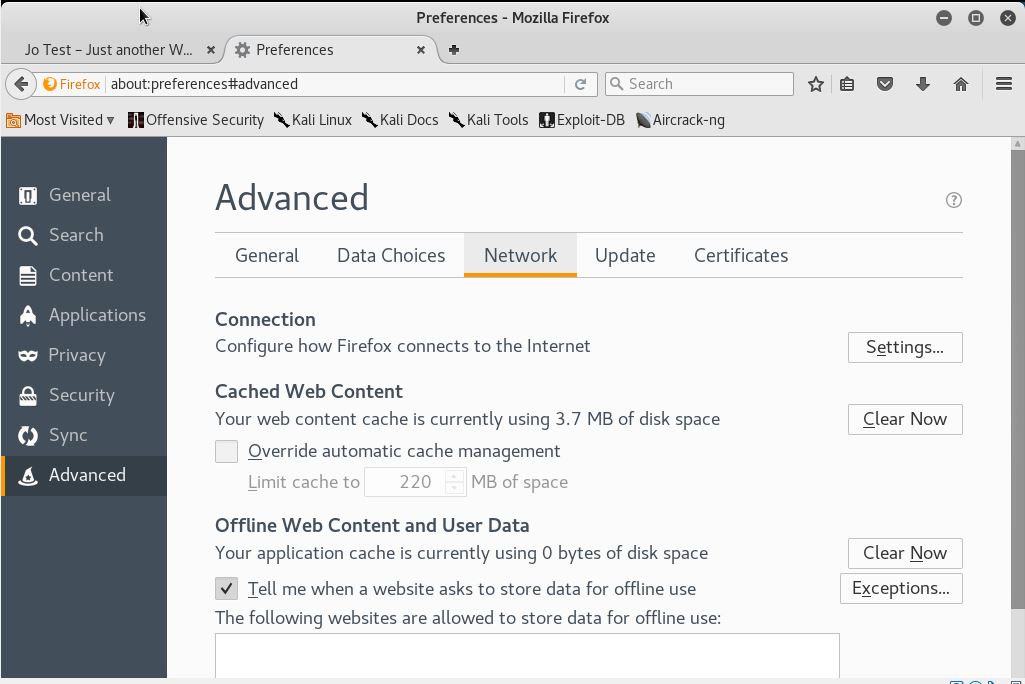
We can see that the address is 127.0.0.1 in port 8080. Change the connection settings in the browser by opening menu, then preferences/options, then select advanced. Click on the network and manage the connection by clicking settings.
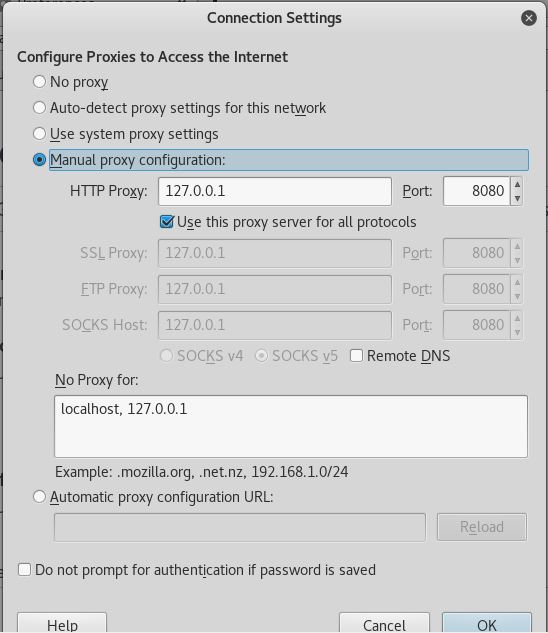
Change the connection settings as demonstrated below.
After the settings are done, search for a website. This will show up in our Paros.
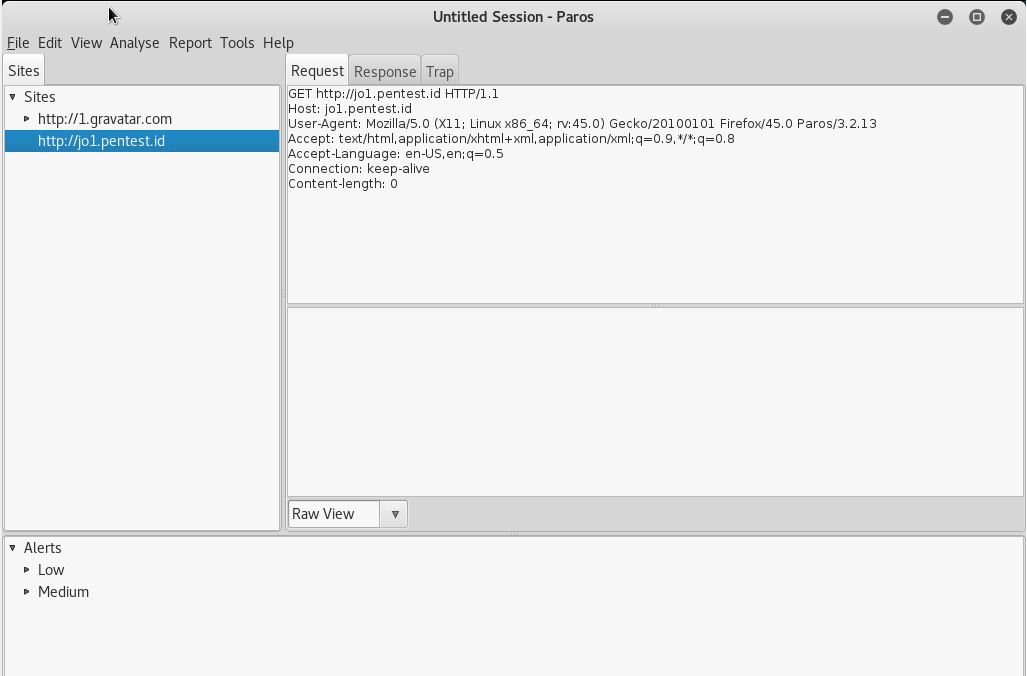
As you can see, there are some alerts; low and medium. These alerts display vulnerabilities that were found by Paros.
6. Other tools
There are many more web tools that we can use for information gathering. Here are a list of tools that may be helpful.
For information on Devices and Computers:
1. archive.org
2. www.domaintools.com
3. www.alexa.com
4. serversniff.com
5. centralops.net
6. www.robtex.com
For information on people:
1. www.pipl.com
2. yoname.com
3. wink.com
4. www.isearch.com
References
https://www.hackingloops.com/target-scoping-guide-penetration-testing-pen-test/
http://dns-record-viewer.online-domain-tools.com/
Introduction to the Paros Proxy Lightweight Web Application Tool