On this post, I will discuss about DVWA installation. But first of all, what is DVWA? DVWA stands for Damn Vulnerable Web Application. It is actually a PHP/MySQL web application that is very vulnerable for students or ethical hackers to try and test their skills of hacking in a legal environment. For the sake of learning, we will install this in our Linux within the virtual box.
Here are several steps to install DVWA
1. Open the terminal and go to /var/www/html using the cd command: cd /var/www/html
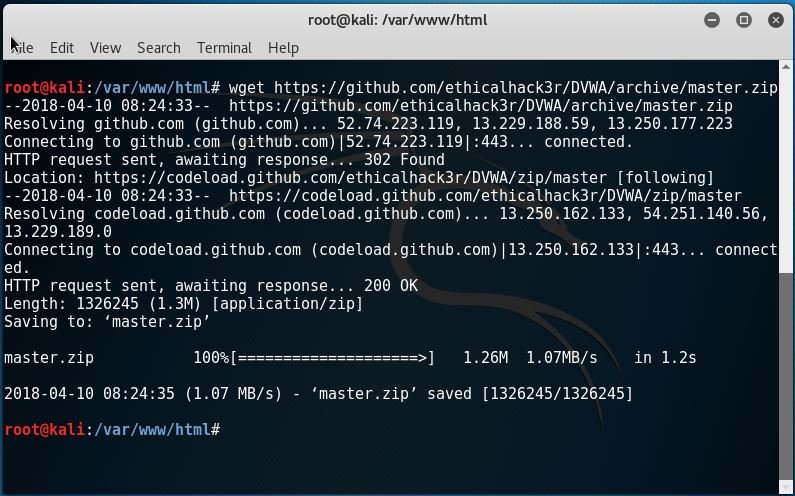
2. On the current directory, download the master.zip file for DVWA from https://github.com/ethicalhack3r/DVWA/archive/master.zip with wget. It looks something like this:
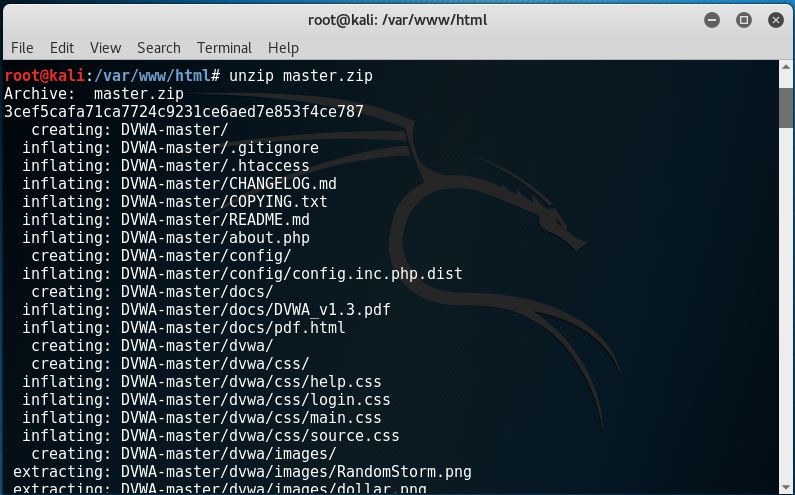
3. Unzip the file like this:
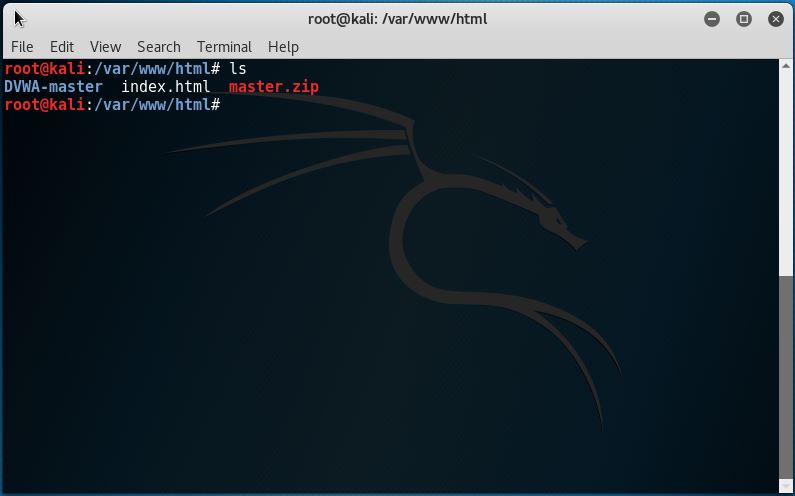
4. Check whether the file is there or not using ls.
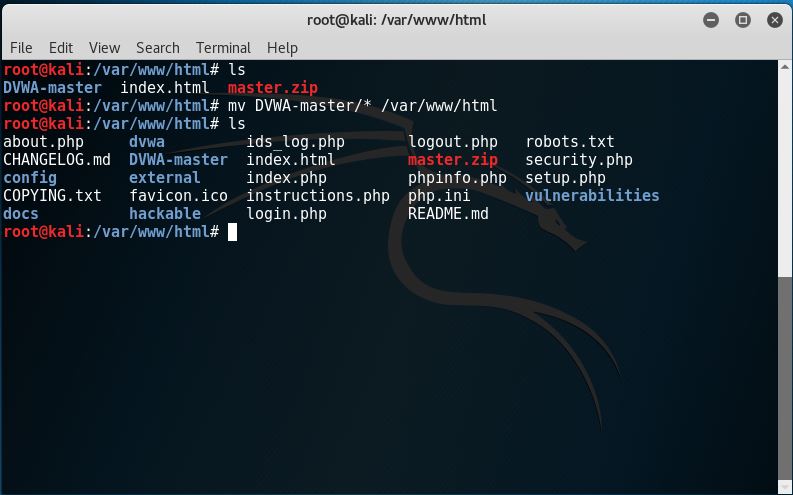
5. Move the DVWA-master file to the web root directory like this: mv DVWA-Master/* /var/www/html
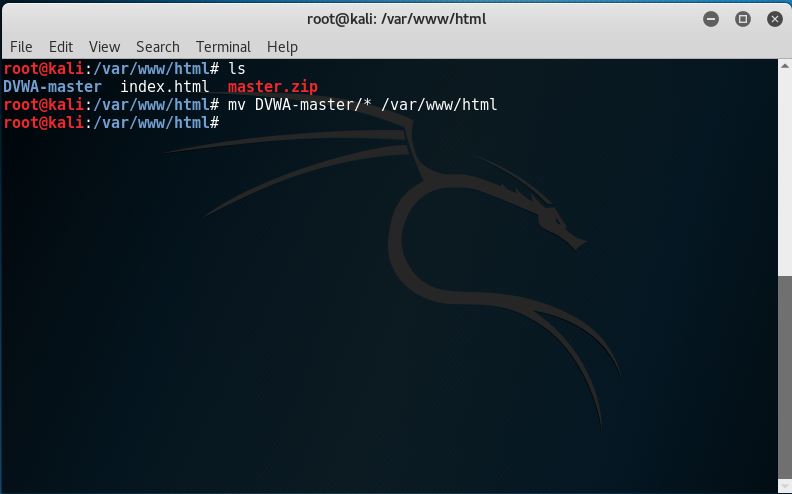
So now, we have the DVWA files inside /var/www/html and it now looks like this:
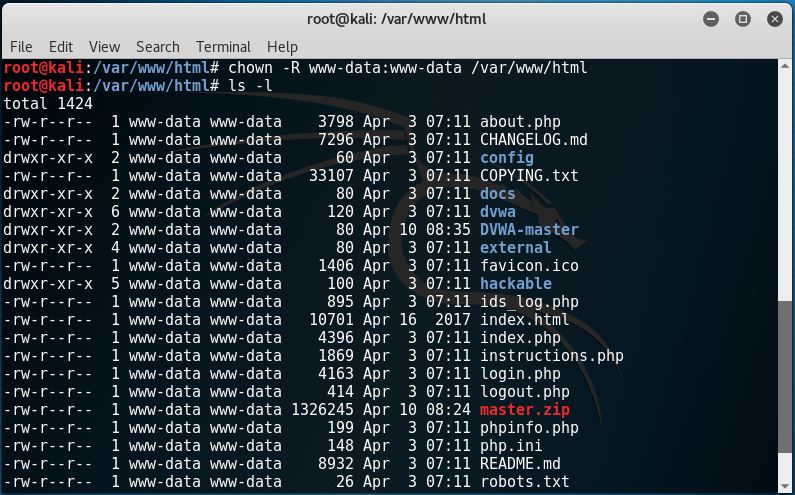
6. Change the owner of the /var/www/html directory with chown to: chown -R www-data:www-data /var/www/html
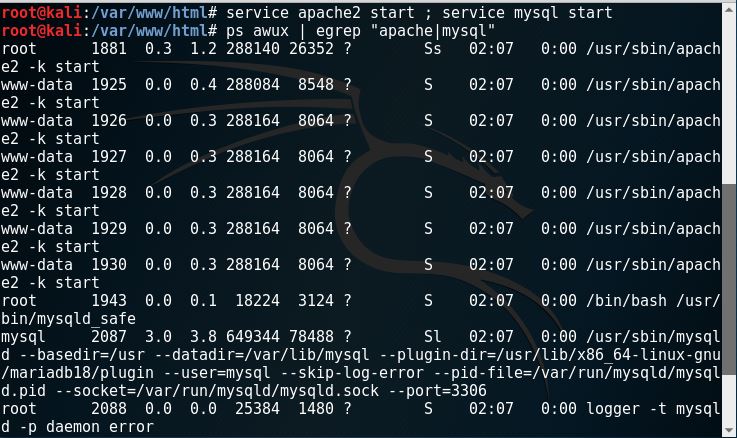
7. Set our apache and MySQL services by typing in “service apache2 start; service mysql start”. Then, type in “ps awux | egrep “apache|mysql”” like this.
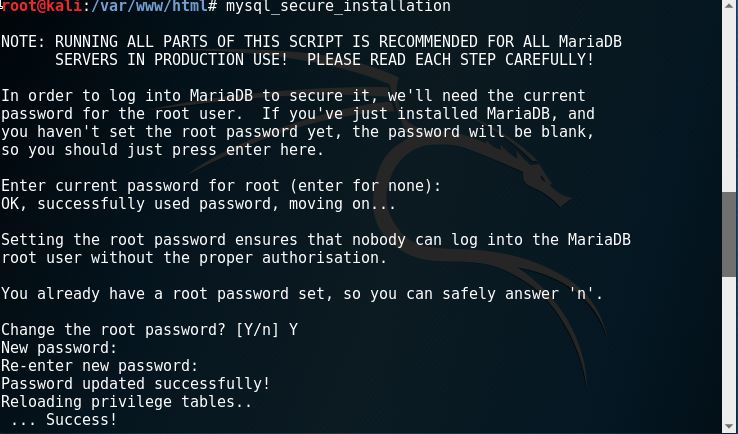
8. Securing MySQL installation by typing in “mysql_secure_installation”. Make sure on the first step to fill in the password. Then just fill in yes throughout the installation.
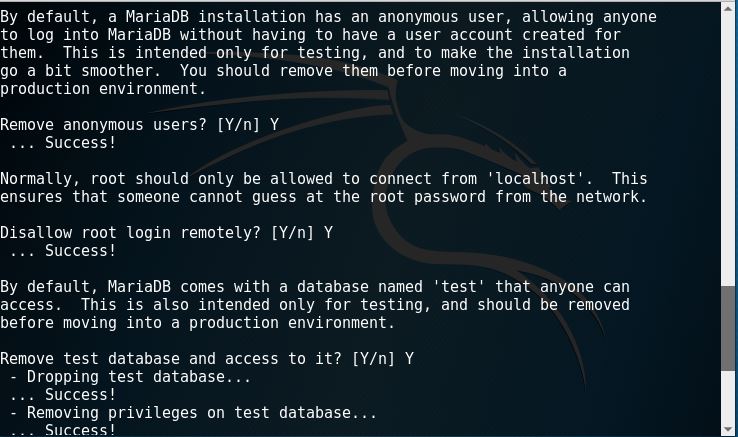
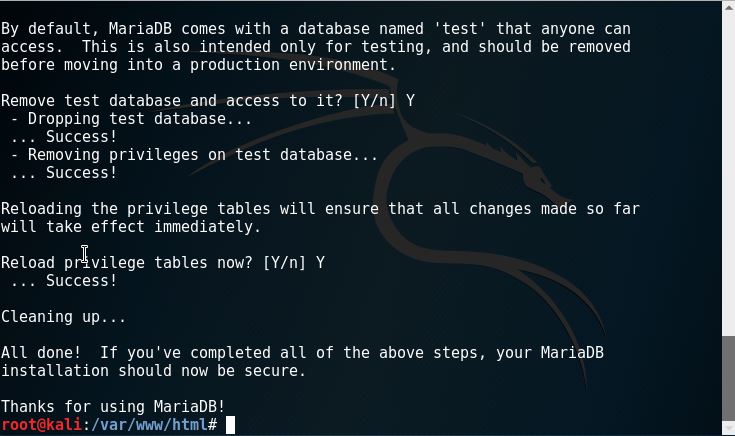
9. Try to see our DVWA page on our Kali’s browser by typing in the local IP 10.0.2.15.
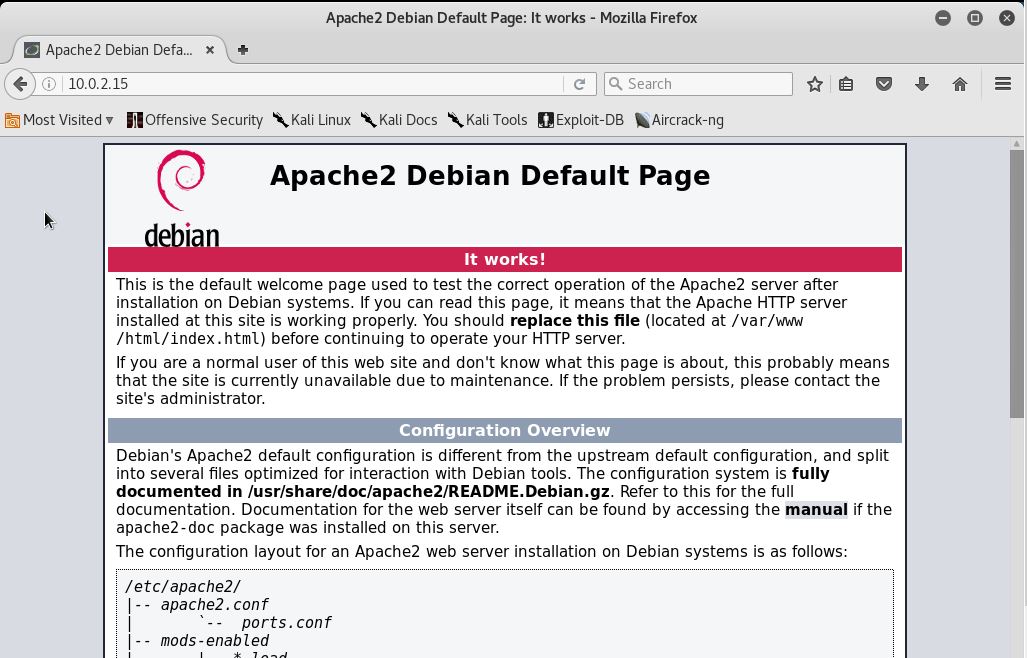
If you see this page, it means that the apache service is already running. But it isn’t exactly the page that we’re hoping to see. To get this fixed, inside the /var/www/html, we’ll see the index.html file. Remove that file and now we’ll see this.

This is almost the right page. All we need to do now is follow its instructions by changing the config.inc.php.dist file in config directory to config.inc.php like this.

We’ll get the right page after refresh.
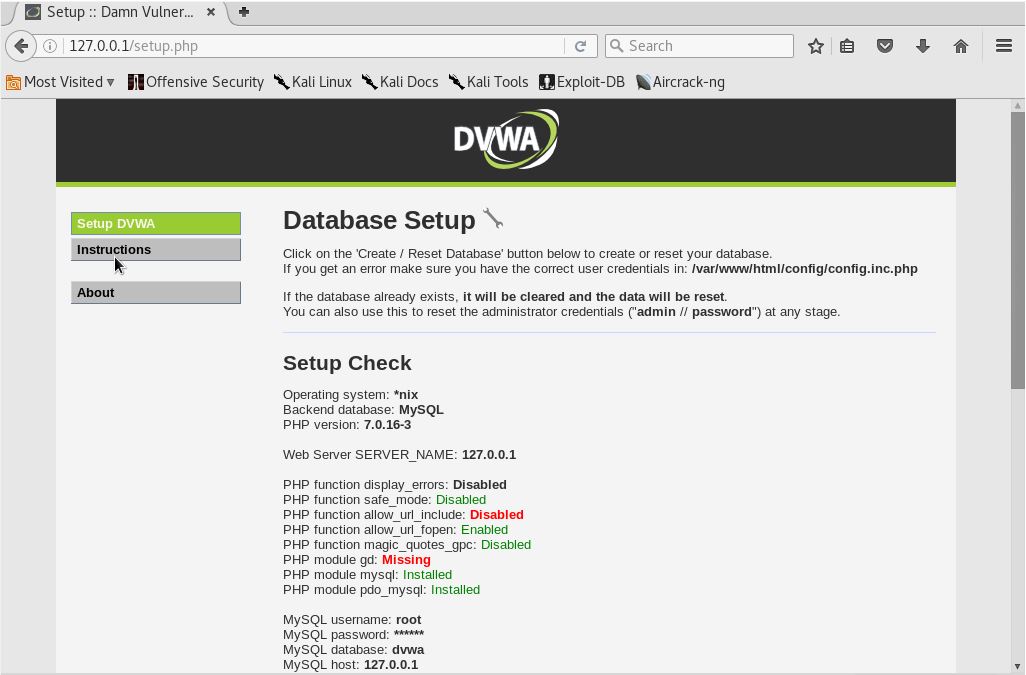
8. After getting the right page, we’ll see a reCAPTCHA error (missing) on the bottom part of the page.
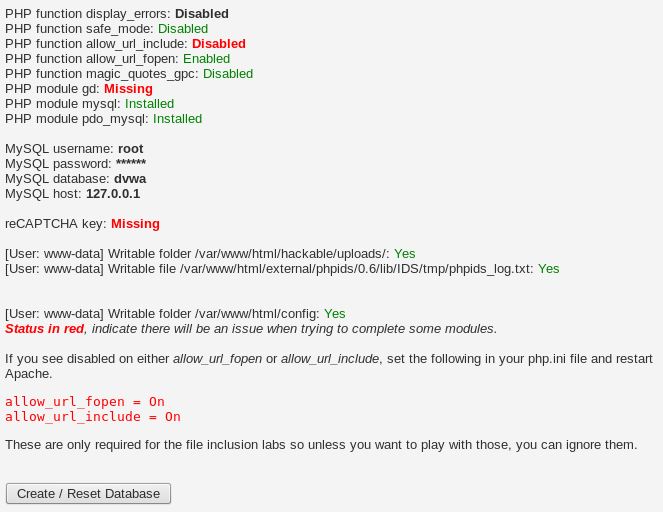
To get the reCAPTCHA keys, we’ll have to go to www.google.com/recaptcha/admin.
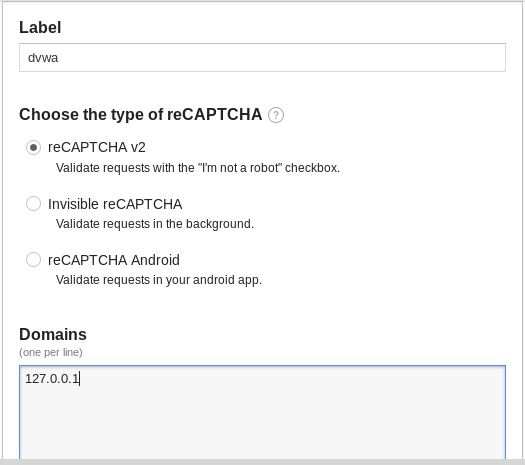
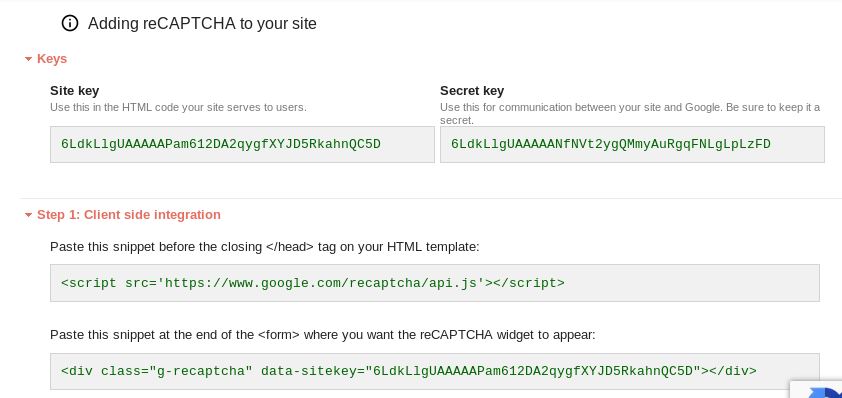
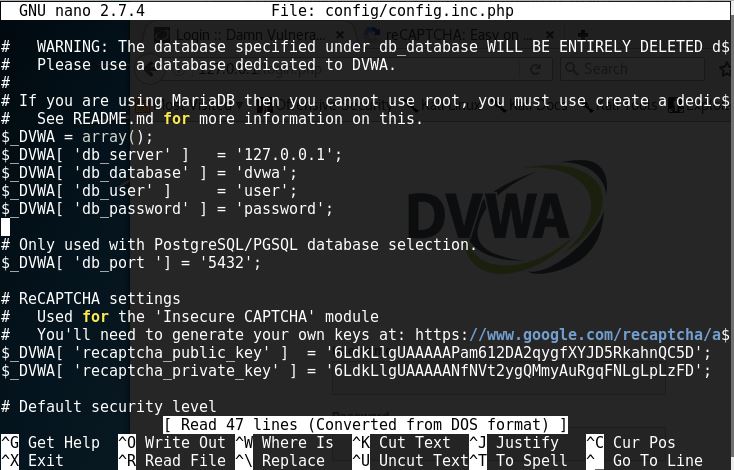
Then, we’ll have to add the keys to the config/config.inc.php file.

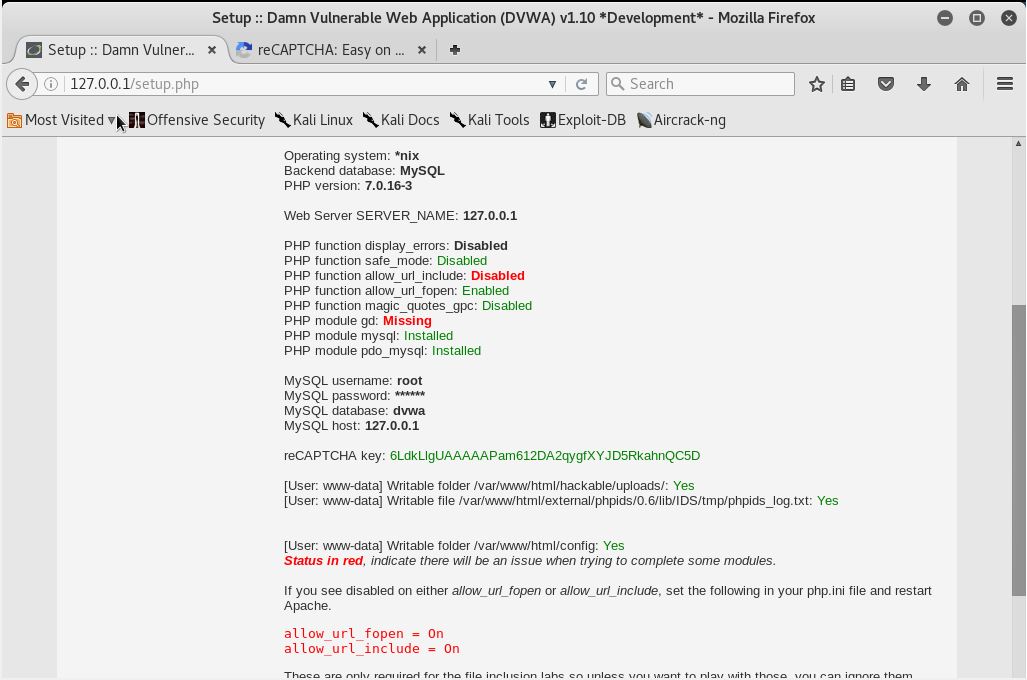
9. After resolving reCAPTCHA, we’ll have to resolve the ‘allow_url_include’. Simply edit the php.ini under /etc/php/7.2/apache2. Mind that the directory of 7.2 may be in different version. Open the php.ini file, find the ‘allow_url_include’ string, then set the value to ‘On’.

Save and exit the file.
10. Another thing we’ll have to resolve is the PHP module gd part. Simply type in ‘sudo apt-get install php7.2-gd’. A note to remember, mind the php version we use as different versions of installation might not work at all.
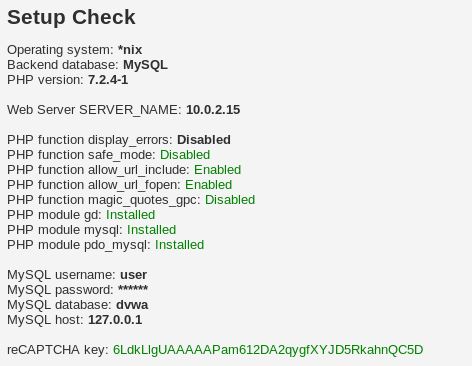
Restart the apache2 service and refresh our browser. We’ll see that all the red status are resolved.
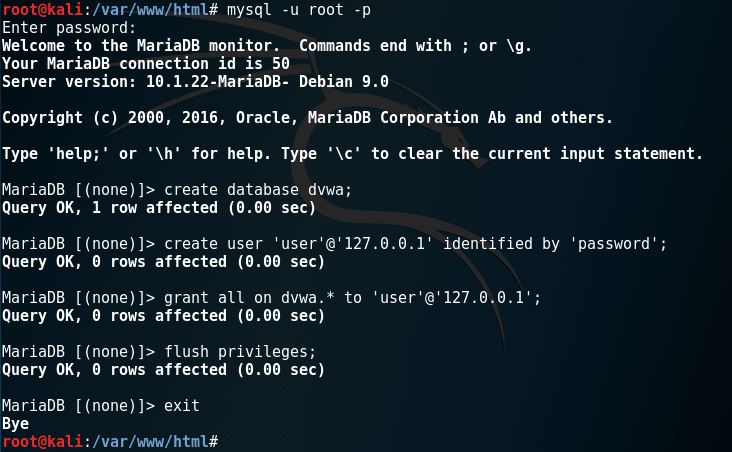
11. Create the database through terminal by typing in “mysql -u root -p”, then enter the root’s password you made earlier.
12. Change the config/config.inc.php file again and change the user and password to the user that we made on the previous step.
Then, refresh the browser page and click on the ‘Create / Reset Database’. This is what you should get after that.
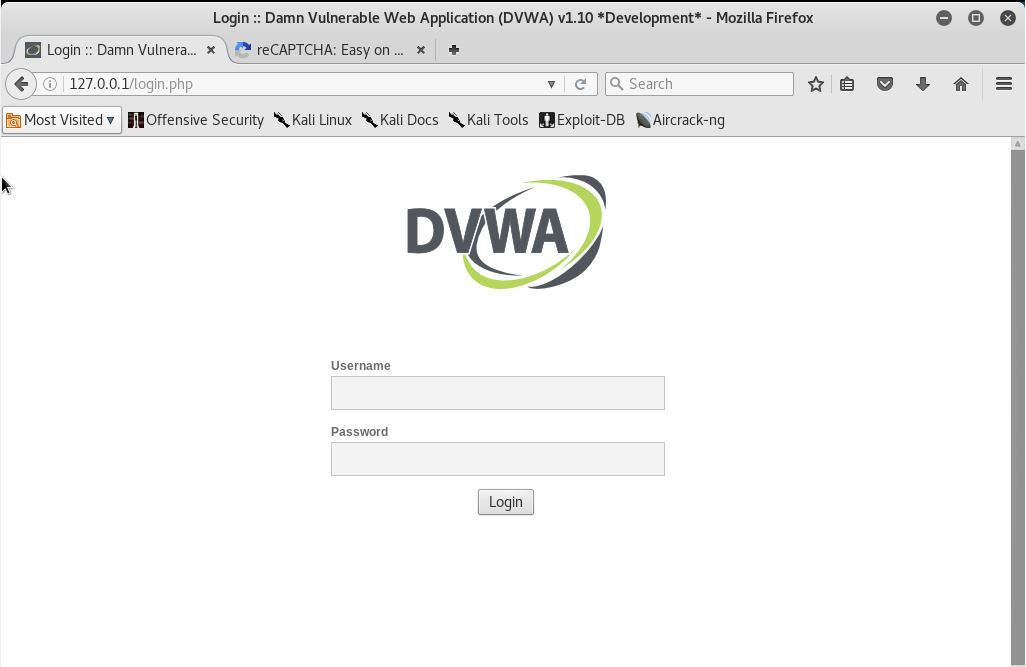
The installation is done! The default username is ‘admin’ and the password is ‘password’.